



Building a carbon nanotube model can feel deceptively simple: choose a tube, set its length, and add it to a scene. But when you need a particular radius, orientation, or a multi-walled structure, trial-and-error can make it harder to get a model you can use confidently. A more reliable approach is to decide what you need the model to represent, then choose the creation method that gives you the right level of control.
SAMSON’s Nanotube Creator supports two workflows: drawing a nanotube directly in the viewport, or entering parameters in the editor’s graphical interface. Both can create nanotubes; the GUI is especially useful when you want to specify positions and n/m values explicitly, such as when building concentric walls.
Choose the right workflow
Use the interactive method when you want to place a tube quickly and inspect its orientation in the scene. Activate Nanotube Creator from the viewport menu under … > Materials > Nanotube Creator, or open Find everything… with Shift + E and search for the editor. Only one editor can be active at a time.
To draw, press and drag the left mouse button to set the nanotube axis and length. Then release the button, move the mouse to adjust the radius, and click again to confirm. Keep an eye on the status bar while you work: it gives live feedback on the axis orientation and tube length, and helps you choose the n and m values.
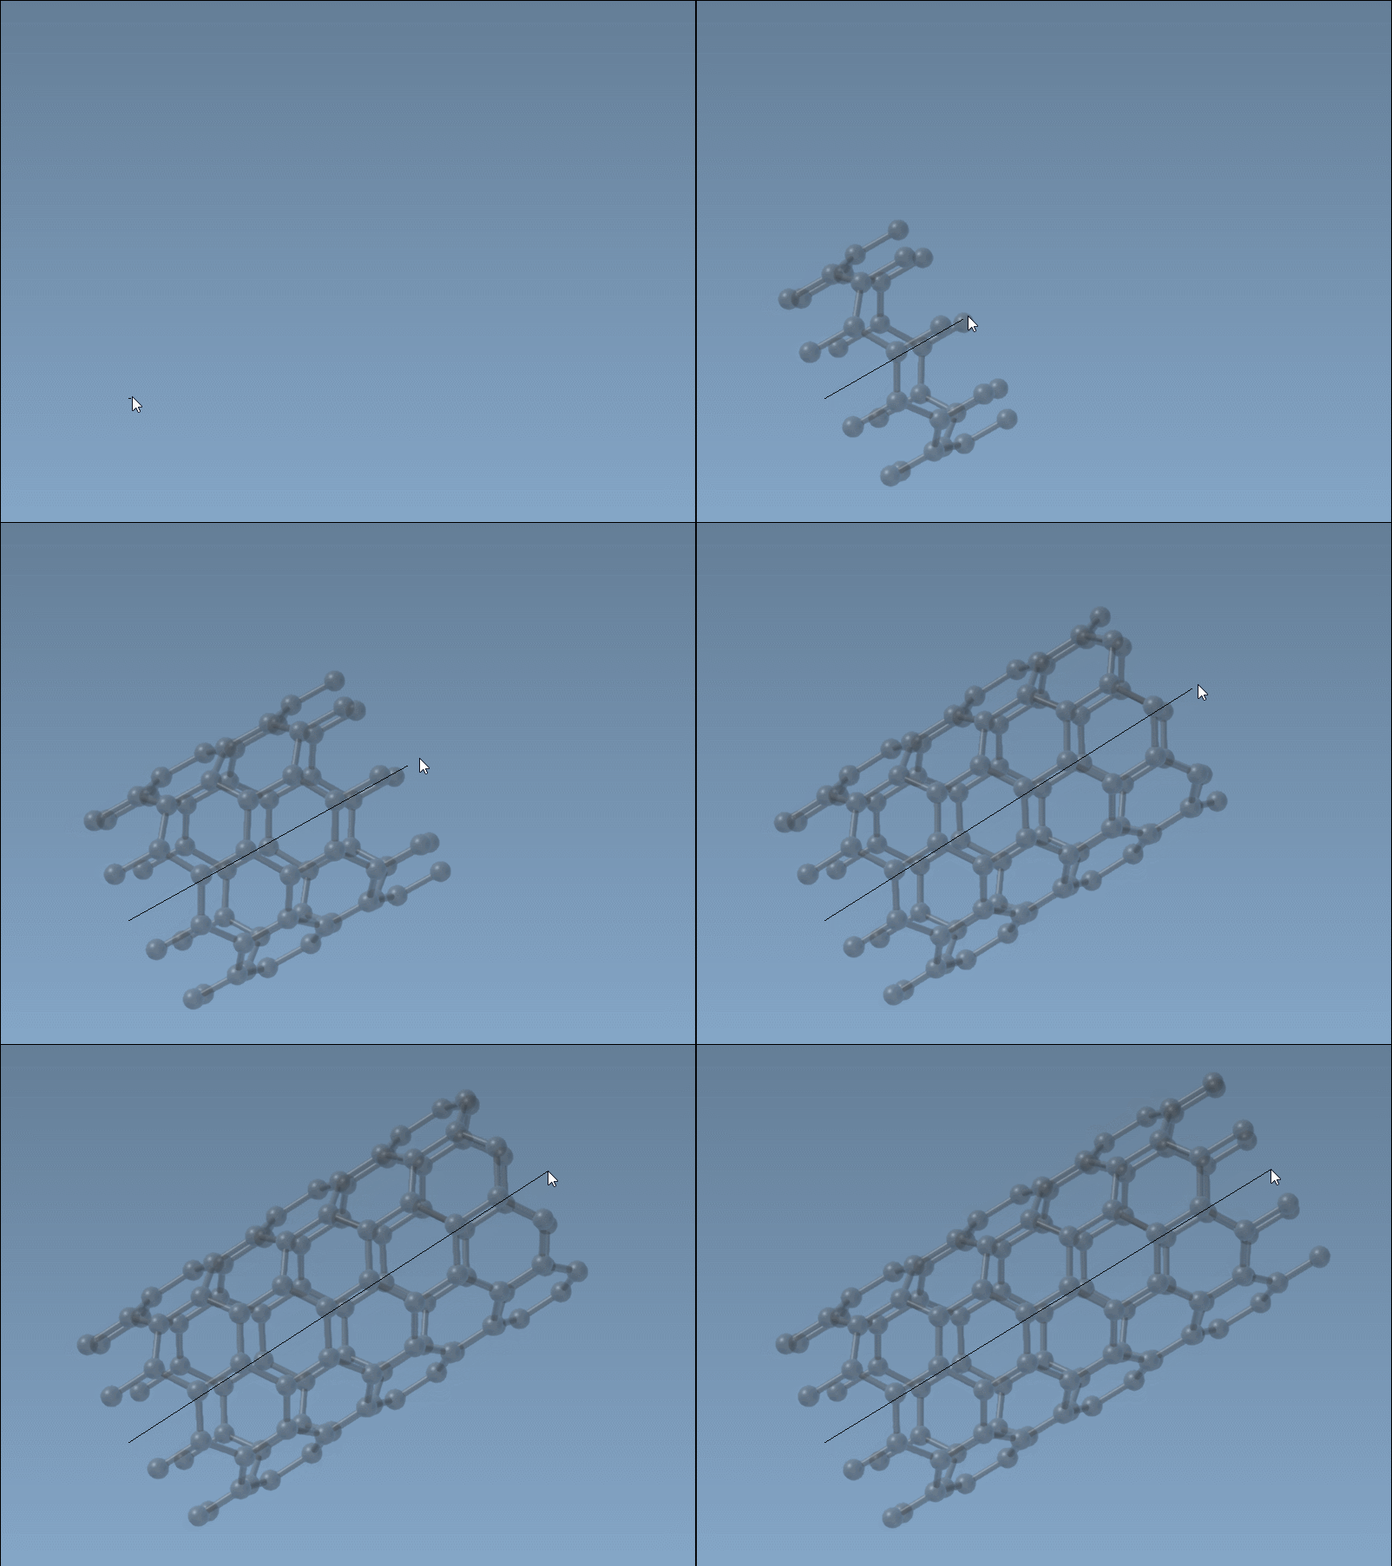
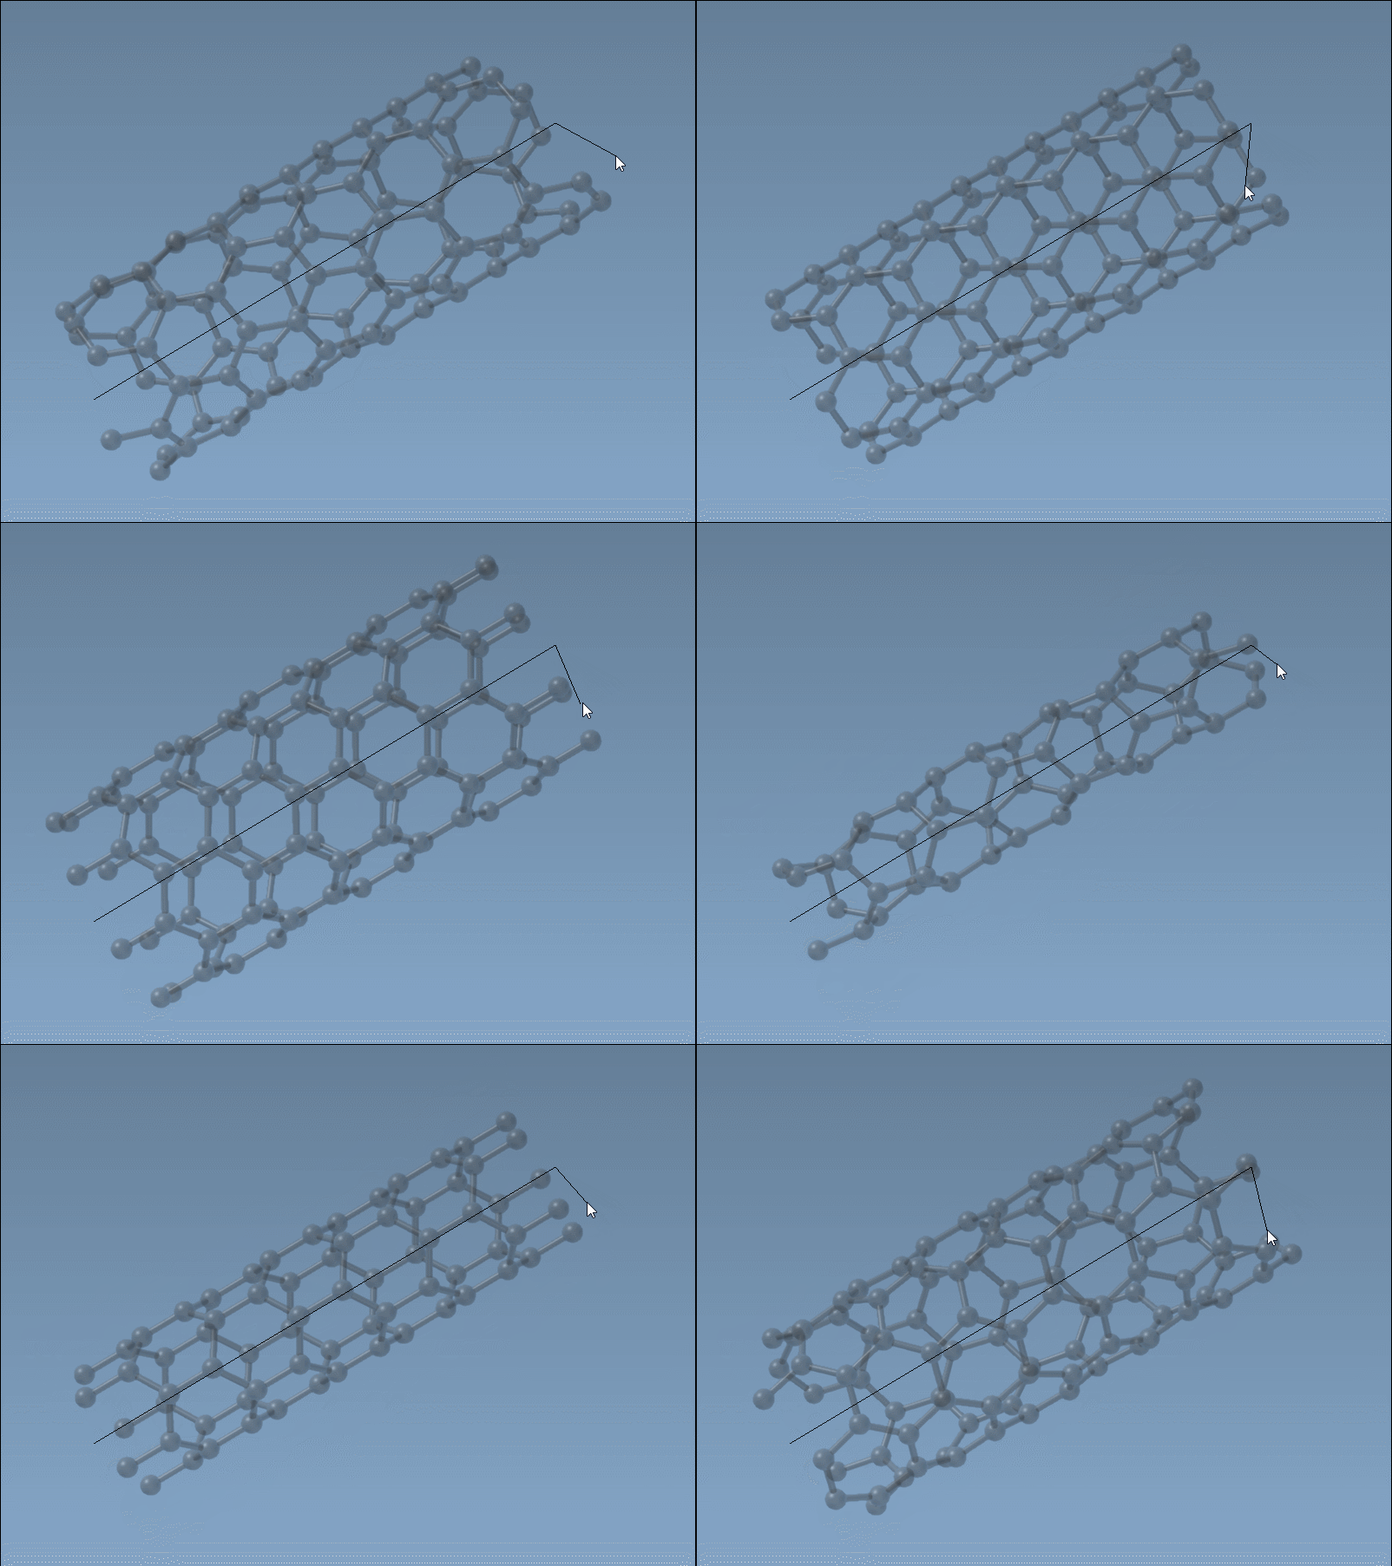
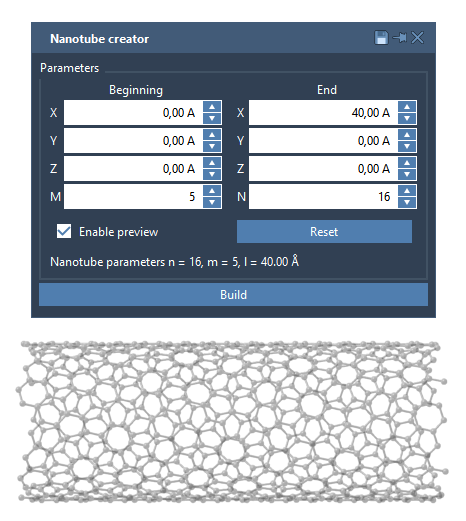
For a model that needs specific dimensions or multiple walls, use the graphical interface instead. It exposes the start and end positions, which define the tube’s axis in 3D, and the n/m values, which define the chiral vector and affect the structure and radius. Once the parameters are set, click Build. If the interface is hidden, reselect the editor to toggle its visibility.
A reproducible example: three concentric walls
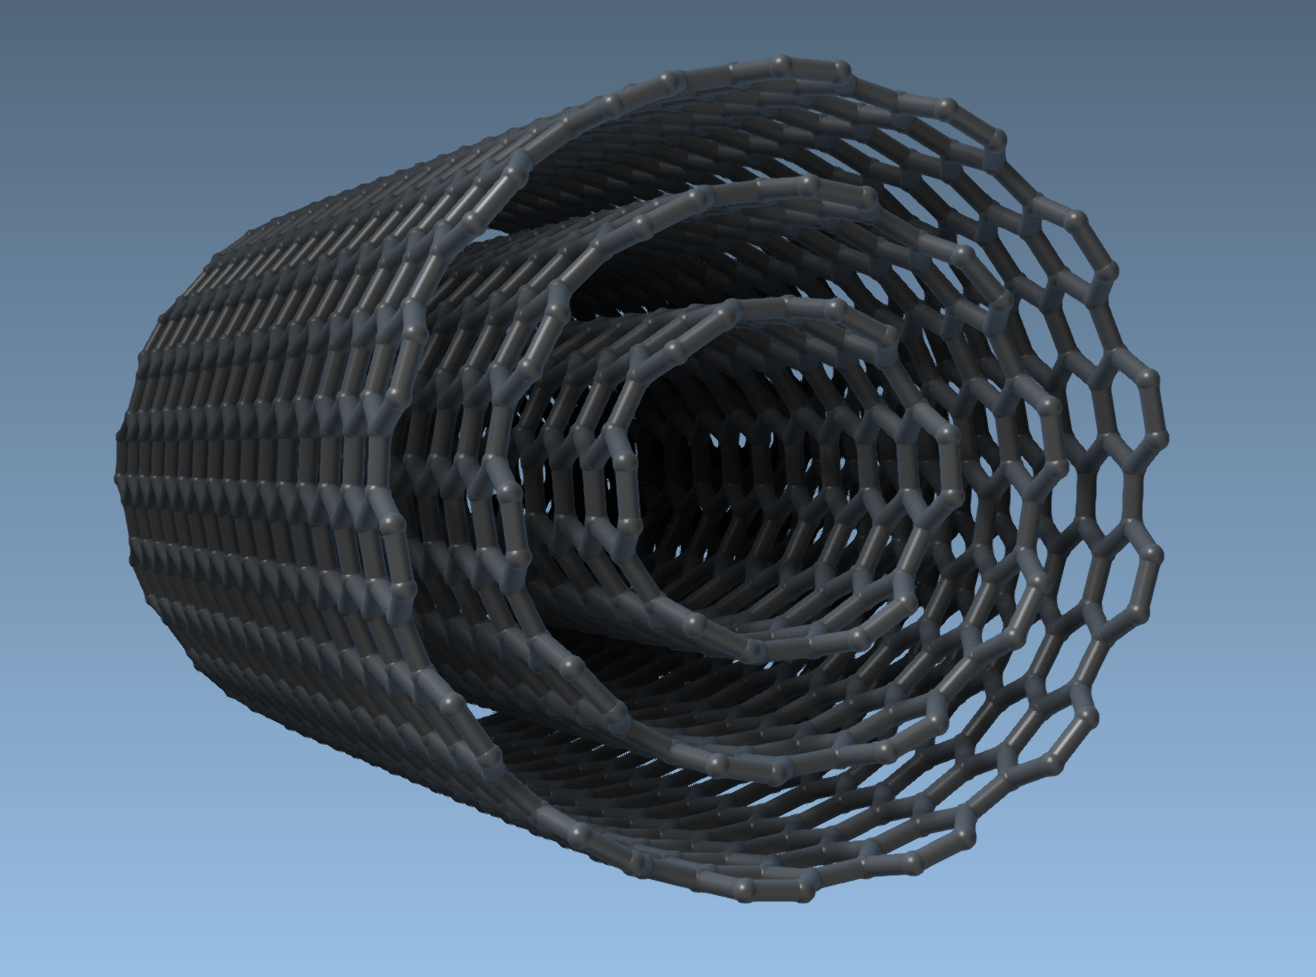
Here is a concrete setup that is easier to repeat than drawing each wall by eye. In the GUI, set the start position to (0, 0, 0) and the end position to (40, 0, 0). This places the tube along the x-axis with a length of 40 Å. Then build three nanotubes using the same start and end positions, changing the indices for each wall:
- Set
n = 6andm = 6, then click Build. - Set
n = 10andm = 10, then click Build. - Set
n = 14andm = 14, then click Build.
Reusing the same endpoints keeps the walls aligned along the same axis and length; changing the indices creates the different tube sizes. The result is a multi-walled nanotube model:
A quick planning checklist
- Need fast placement? Draw in the viewport and use the status bar to monitor the parameters.
- Need repeatable dimensions? Use the GUI and record the endpoint coordinates and
n/mvalues. - Building multiple walls? Reuse the same axis positions and build each wall with its own indices.
- Going on to visualization or simulation? Once the structure is built, it can be combined with other molecules or used in later modeling workflows.
Choosing the creation method up front can save time: interactive drawing is convenient for exploration, while explicit GUI parameters make a deliberate multi-wall setup easier to reproduce. For the full walkthrough, see the Nanotube Creator tutorial.
Note: SAMSON and all SAMSON Extensions are free for non-commercial use. Get SAMSON.