


When you’re modeling large molecular systems—dense proteins, layered assemblies, or binding site environments—it’s easy to feel like you’re navigating a fog. Important details get buried under overlapping atoms, useful parts are occluded, and your camera feels like it’s fighting against complexity instead of helping you work through it.
This is where progressive clipping in SAMSON can help: it gives you a smoother, more intuitive way to control what you see based on distance from the camera. Instead of abrupt cutoffs, you get a gentle fade-out of structures, giving you clarity and a genuine sense of depth as you navigate your molecular systems.
What is progressive clipping?
Introduced in SAMSON 2025 R2, progressive clipping gradually fades away parts of the structure too close or too far from your viewpoint. It replaces traditional hard clipping with a transition zone, so your focus area remains sharp but unobstructed, and the background doesn’t crowd the frame.
This is especially helpful when:
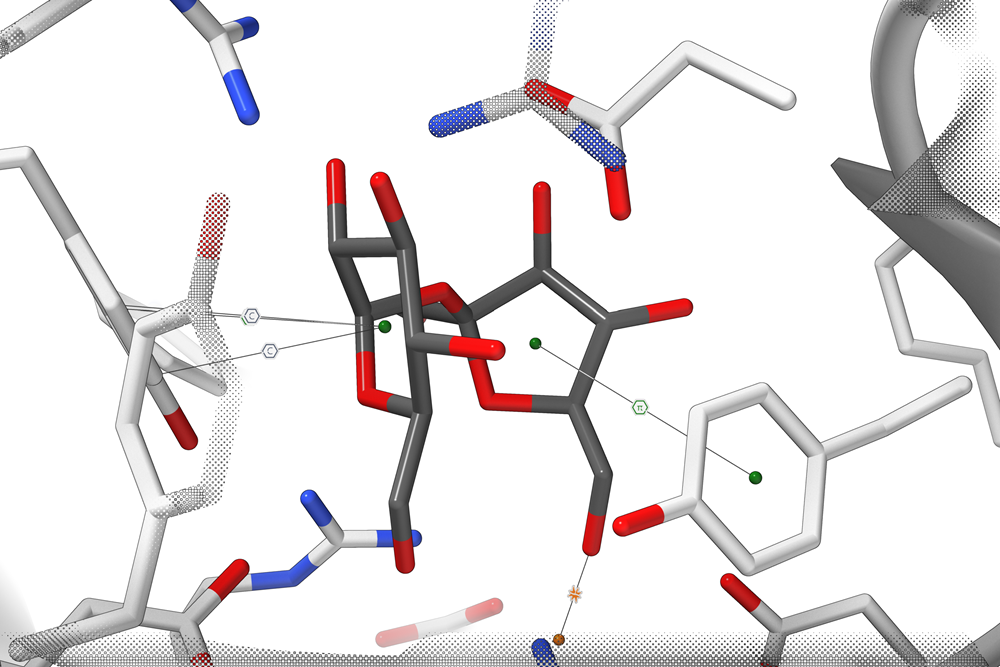
- Examining binding sites hidden deep inside biomolecules
- Creating cleaner visualizations for presentations or publications
- Zooming in for detailed editing without losing orientation
How to use progressive clipping
Progressive clipping is enabled by default in SAMSON 2025 R2, so there’s nothing to install or activate. But knowing how to control it effectively makes all the difference.
Control with mouse and keyboard
- Adjust clipping distance
PressCtrl(orCmdon macOS) and scroll with the mouse or trackpad to set how close objects start being clipped. - Adjust thickness of visible region
PressShift + Ctrl(orShift + Cmdon macOS) while scrolling to change the width of the visible zone (also called the viewing slab).
Use the viewport panel for more precision
At the bottom of the SAMSON viewport, you’ll find a small icon that opens the Clipping Control Panel. From here, you can visually position the clipping and fog planes that define your viewing zone.
This panel shows:
- Camera Eye – your current position
- Camera Target – what you’re looking at
- Background – far backplane where fog is applied
You can drag handles to adjust the clipping and fog boundaries in the scene interactively.
Customize the effect
Go to Interface > Preferences > Rendering > Clipping to set your preferences. Available options include:
- Clipping style presets: Choose between progressive and traditional clipping.
- Edge border size: Emphasize the clipped region by making the edge thinner or thicker.
Combine with other techniques
For best effect, try combining progressive clipping with:
- Silhouettes to highlight molecule outlines
- Visual presets for contrast
- Selective labeling to call out key residues
- Binding site selection tools to inspect neighbors
And remember: The progressive clipping is context-aware and will dynamically update as you rotate, zoom, or change focus.
Try it yourself
Want to give it a try? Load a PDB structure via Home > Fetch, zoom in on a pocket, and fade away the noise outside your zone of interest. You might be surprised how much better your structure begins to communicate.
To go deeper, watch the video tutorial embedded in the documentation or explore additional options in the rendering preferences.
✅ Learn more in the official SAMSON documentation.
SAMSON and all SAMSON Extensions are free for non-commercial use. You can get SAMSON at https://www.samson-connect.net.