



For molecular modelers and researchers in nanotechnology, generating precise models of Carbon Nanotubes (CNTs) can often be a challenging task. Whether you’re designing nanodevices, studying mechanical properties, or modeling molecular transport, a reliable method to create CNT models is essential. This step-by-step guide introduces how SAMSON’s Nanotube Creator Extension simplifies the process, empowering you to efficiently build single-walled and multi-walled CNT models directly.
Why is this important?
Carbon nanotubes are widely used in a variety of applications, from molecular simulations to materials science and nanoscale designs. Yet, building them manually can be time-consuming and error-prone, especially if you need specific configurations or want to experiment with parameters like chiral vectors. SAMSON’s Nanotube Creator Extension addresses this pain by providing intuitive tools for rapid and precise model generation. Here’s how you can take advantage of it:
How to Activate and Use the Nanotube Creator
Before diving into the details, ensure you’ve added the extension to SAMSON:
- Log into SAMSON Connect.
- Visit the Nanotube Creator Extension page and add it to your environment.
- Restart SAMSON to make the extension ready for use.
Once added, activate the Nanotube Creator through either of these two methods:
- From the viewport’s left-side menu: … > Materials > Nanotube Creator
- Search for “Nanotube Creator” in the Find everything… tool by pressing Shift + E.
Note: Only one editor can be active at a time in SAMSON.
Ways to Build CNT Models
The Nanotube Creator offers two modes to build nanotubes:
- Interactive mode: Intuitively build nanotubes in the viewport using the mouse.
- Graphical Interface: Adjust detailed parameters through a user-friendly GUI.
Interactive Nanotube Building
This mode allows you to draw nanotubes directly in the viewport in just two steps:
- Set axis and length: Press and drag the left mouse button to set the nanotube’s orientation and length. Watch the live feedback in the status bar for precise control:

- Adjust the radius:
- Release the mouse button to switch to radius adjustment.
- Move the mouse to set your preferred radius (and
mparameter). - Click the left button again to finalize the build.
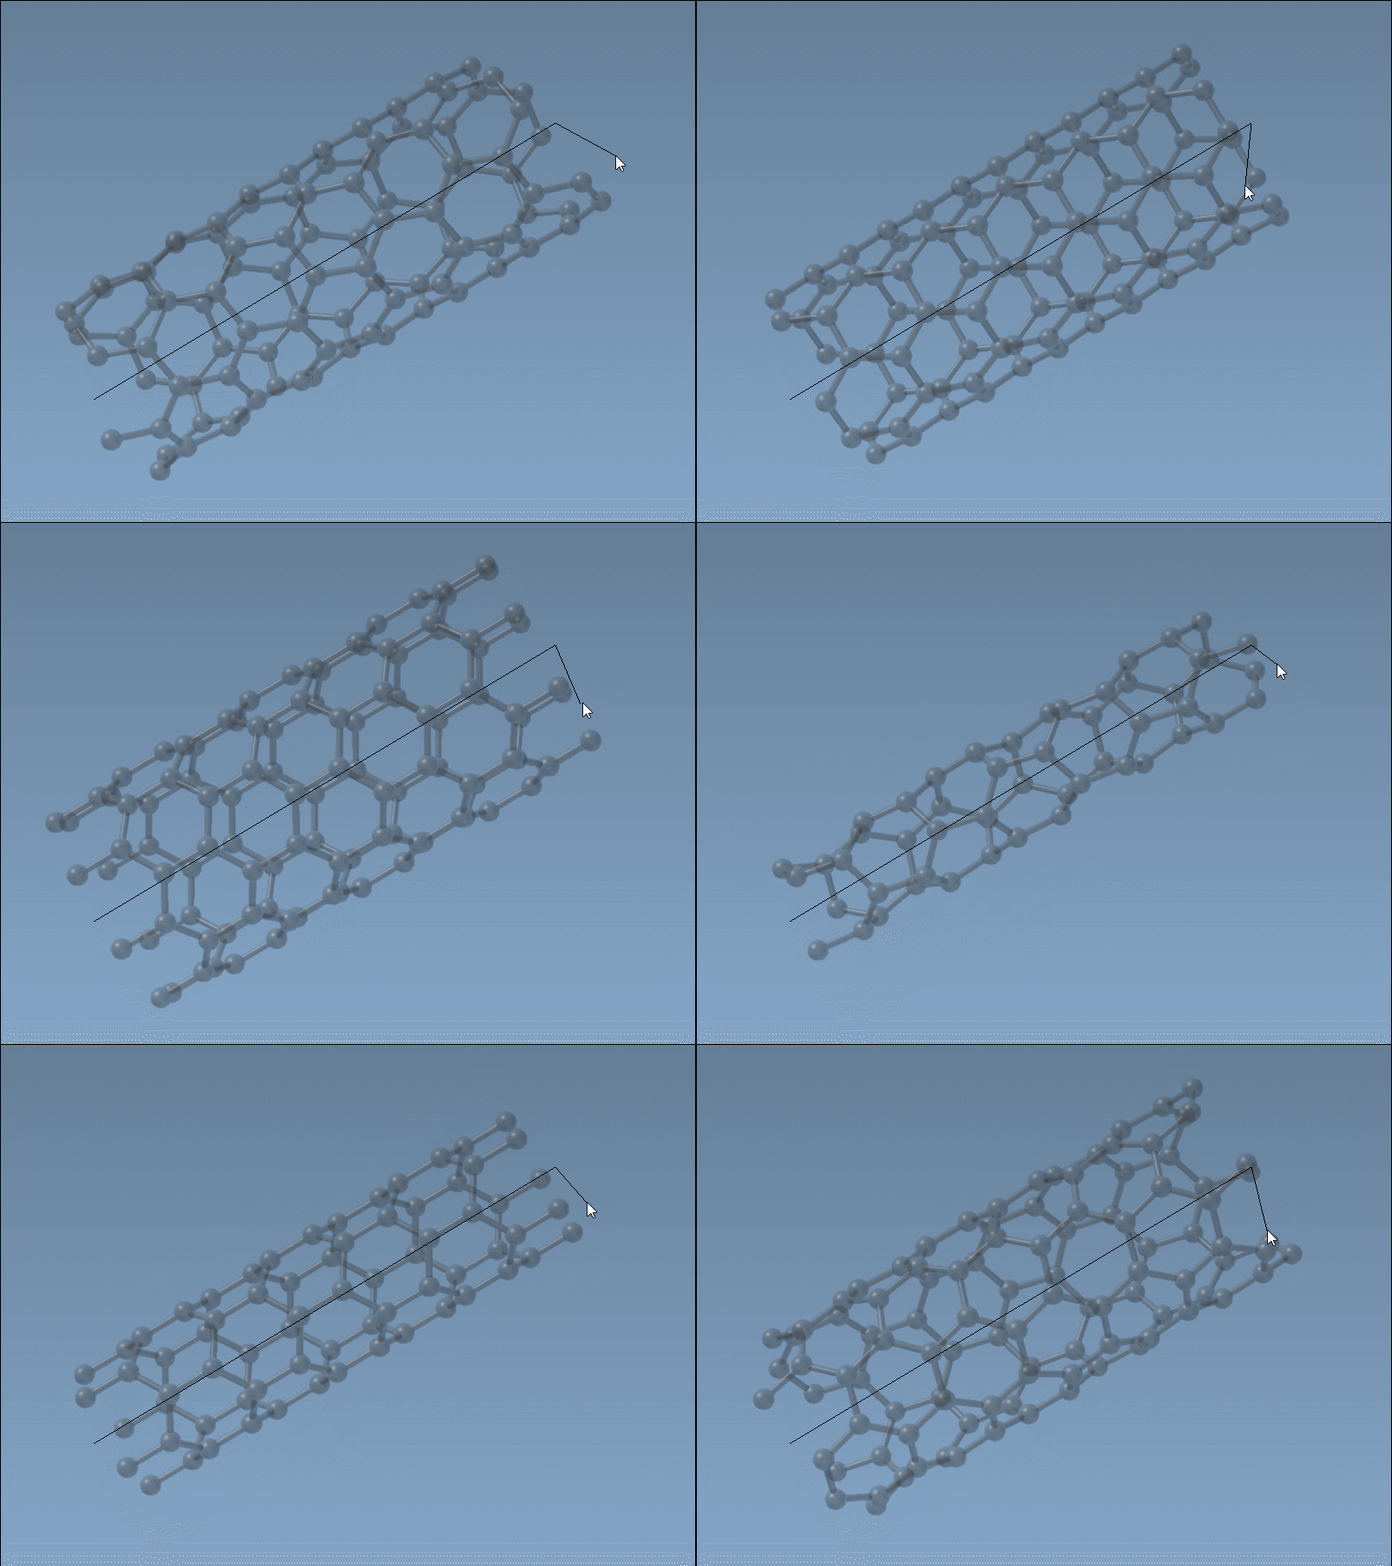
Use the status bar during this process for accurate parameter feedback.
Using the Graphical Interface
If precision is your priority, the Nanotube Creator’s GUI gives you meticulous control to define the nanotube’s start/end positions, radius (m), and other structural parameters:
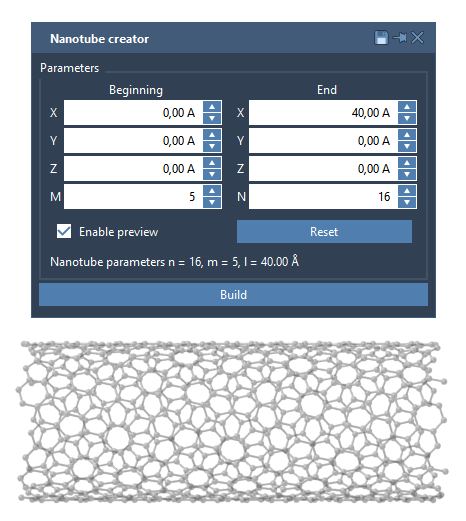
Once all parameters are set, simply click “Build” to generate the CNT. This interface particularly shines when creating more complex multi-walled nanotubes.
Example: Building a Multi-Walled Carbon Nanotube
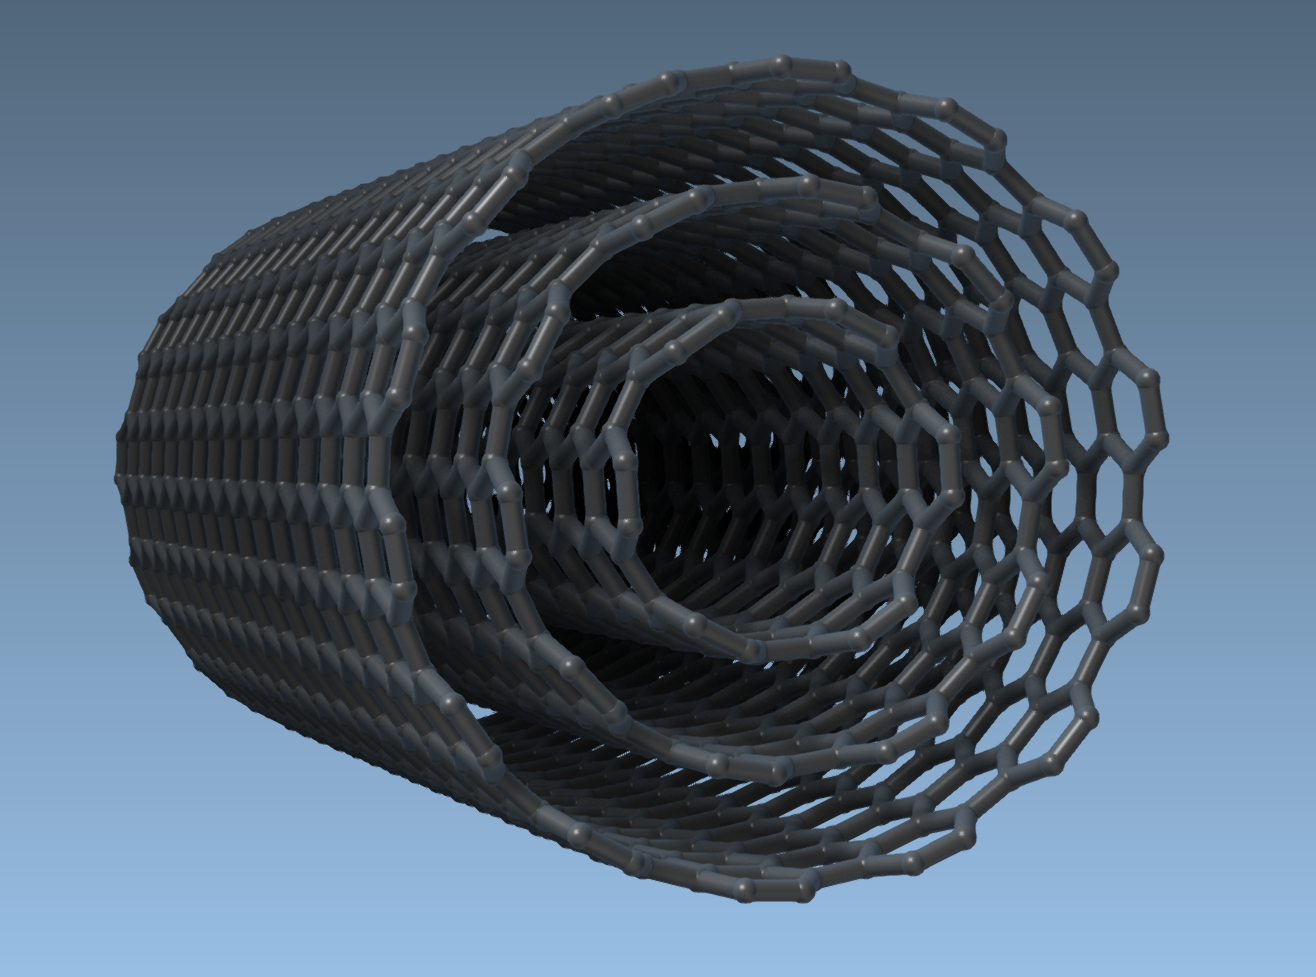
Want to try building something more complex? Here’s a quick example for a three-layer concentric nanotube:
- Set start/end positions:
(0, 0, 0)and(40, 0, 0)to set a length of 40 Å along the x-axis. - Configure three CNTs step-by-step:
n = 6,m = 6— Build.n = 10,m = 10— Build.n = 14,m = 14— Build.
The final result will be a multi-walled nanotube:
Next Steps
After building your CNT models, you can use them in simulations, combine them with other structures, or analyze their mechanical or electronic properties. Visit the official documentation to dive deeper into advanced options and related tutorials.
Note: SAMSON and all SAMSON Extensions are free for non-commercial use. Click here to get started!