



A molecular path can be easy to inspect and surprisingly awkward to use in the next stage of a project. If you need to analyze a ligand’s movement, sending every atom in the protein along for the ride can make the exported data larger and less focused than necessary. The useful distinction is between which path to export and which atoms to include: SAMSON’s Export Along Paths workflow lets you specify both.
This matters when preparing coordinates for downstream analysis, such as examining ligand exit states or building inputs for a reaction-coordinate or free-energy workflow. Exporting coordinates gives you the trajectory data; it does not, by itself, calculate a reaction coordinate or perform a free-energy calculation.
Start with a path, not a file format
In SAMSON, a path is a node that stores atomic trajectories for a group of atoms. Double-clicking a path in the Document view starts or stops motion along it, which is useful for a visual check. For export, select the path or paths you want in the Document view, then choose whether to put all frames in one PDB file or save each frame as a separate PDB file.
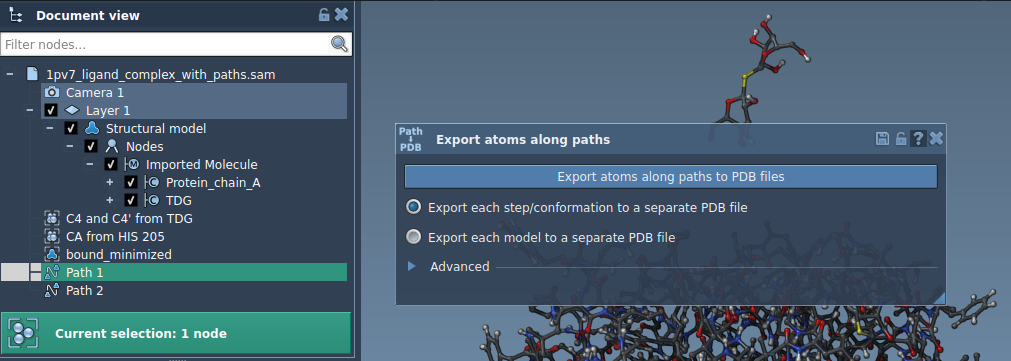
The choice between one file and separate files is a workflow choice, not a change to the path itself. A single file keeps the frames together; separate files give you individual frame files. If you need to reduce the number of exported frames, expand Advanced and adjust the frame export interval.
Export a ligand without losing track of your selection
To export a subset, open the app’s Advanced panel and select the atoms you want in the Document view—for example, the ligand TDG. Click Add to register that selection as a model in the export list. The model is a named group of atoms to include in the export; it is separate from selecting the path whose trajectory you want to export.
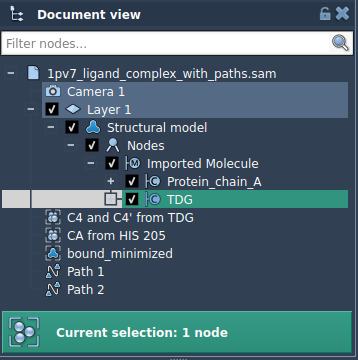
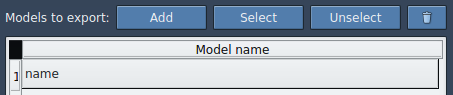
That separation helps avoid a common source of confusion: selecting a ligand defines what to export, while selecting a path defines where along the movement to export it. You can add more than one atom set, rename a model by double-clicking its name, and use Select or Unselect to highlight the atoms included in a listed model. If a selection needs to be redefined, use Reset for that model.
A practical pre-export check
- Confirm the path. Select the intended path or paths in the Document view.
- Confirm the atom set. For a ligand-only export, add the ligand as a model and check which atoms are highlighted.
- Choose the frame layout. Decide between all frames in one PDB file and one PDB file per frame.
- Review the interval. If you do not need every frame, set the export interval in the Advanced section.
- Choose the destination. Start the export and provide a destination folder and file prefix when prompted.
For example, the SAMSON sample system contains lactose permease (1PV7), its ligand thiodigalactosid (TDG), and two unbinding paths. It provides a concrete way to practice selecting a path and exporting the ligand’s coordinates rather than treating the whole protein as the target of the analysis.
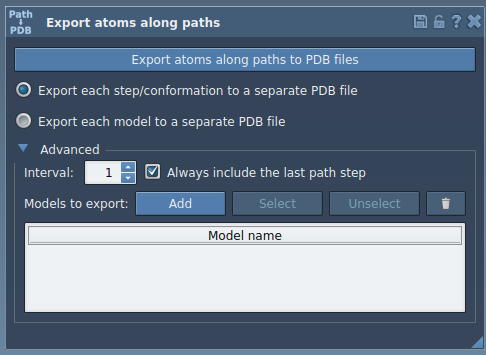
Once exported, the PDB coordinates can be carried into your chosen downstream analysis, visualization, or simulation workflow. Keeping the atom selection and path selection explicit makes the export easier to interpret later—especially when comparing multiple paths or intermediate states.
For the complete step-by-step workflow, see the Export atom trajectories along paths tutorial.
Note: SAMSON and all SAMSON Extensions are free for non-commercial use. Get SAMSON.